fbpx

Author name: Prachi Awasthi

M.Sc. Nutrition & Food Processing

hair care

10 Super-Easy and Fun Hairdos for Daily Office Look

Hair has always been a topic of conversation for women; what hairstyle suits which outfit, what to do if you have oily hair or which supplement should I take to reverse my hair damage? The question list goes on, & the simple trick to managing your hair is by providing it with the nourishment it needs. Achieving a fancy, slick-looking hairstyle is possible solely if your hair is healthy.
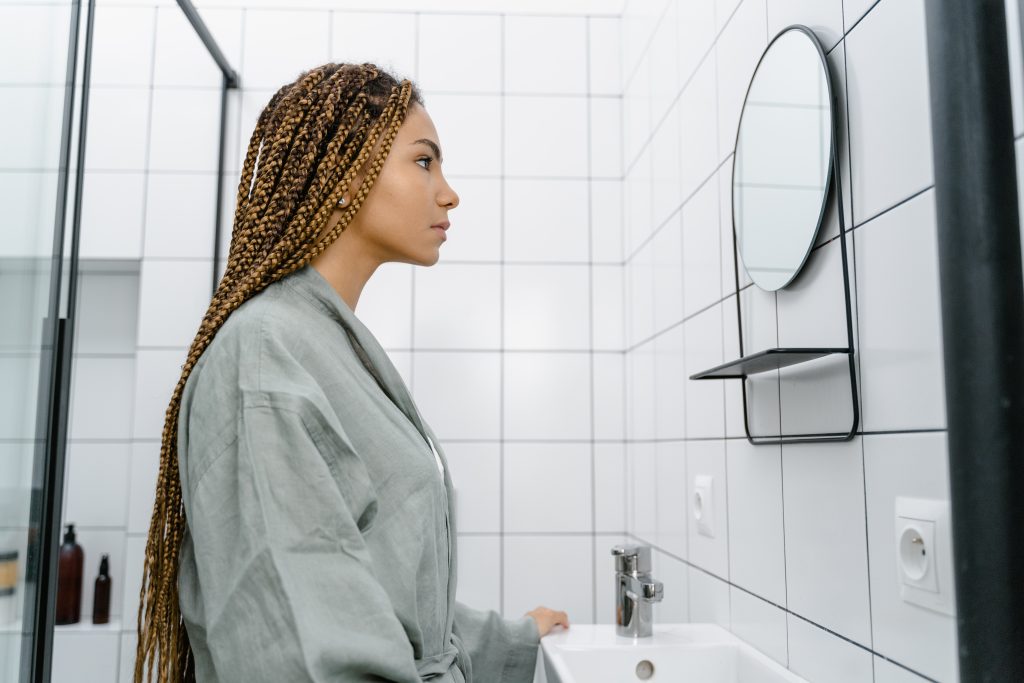
In today’s dynamic lifestyle, women hardly get any time to provide the kind of nourishment their hair needs, let alone style them! You need a ritual where you can take care of your hair with steps that cater to your outside and inside beneficial requirements.

Having a busy schedule should never take away from keeping your hair in good shape. Even if it is 5 minutes, you should spend a little time caring for your locks. Do Champi, apply a hydrating mask, use a heat protectant and take your hair nourishing supplements: 

We know how hectic your schedule can be, so let us help you decide on the next hairstyle that is perfect to match your office look. Here are ten easy hairstyles which only take a few minutes off your schedule! Also, check out the easy hairstyle that takes less than 3 minutes to do at #2. 

  • Usiness Women Coming Through-Side Braid Hairstyle: Fresh, clean, and silky – that’s how your hair looks with this side braid hairstyle. Start braiding your hair slightly above the front-right corner of your hair by covering a voluminous amount. Once you’re done with the braid, loosen the knots with your fingers to make it look fuller. 
  • Taking Every Step to Reach the Top With a Top Knot : Easy updos for work look more effortlessly chic than you’d have expected. Any woman can create this hairstyle within two minutes, regardless of the hair length. You have two choices – clean or messy – but to make both of them, you need to take your hair high up in a ponytail and curl it over each other to create the bun, secured with a rubber band. 
  • Setting the Goals High; Clean and High Ponytail : You can never go wrong with a clean look-Brush your hair and if you want a sleek look, try straightening the night before. Take all your hair and, using your comb, brush your hair down for a clean look and tie them as high as you like. Finish it with a few spritzes of hair spray to tame the baby hair. 
  • You Get Things Done; Side Bun Hairstyle: Nothing looks more elegant than the side bun hairstyle, and all it takes is two minutes of your time. Create some volume by brushing the inner side of your hair from the front and taking it along the other parts in a low ponytail on the left side of your face. Secure the bun using a U-pin. You can also use a clip to add more character to the hairstyle and take it up a notch. 
  • Success Isn’t Given; Strong Women Achieve It: Braided Bun: This braided bun is the one for women who love a sophisticated impression, something really simple but makes you stand out. Start by raiding your hair from the top, securing it with an elastic band. Once you have completed braiding both sides, ensure that your hair is tightly secured using a tic-tac or U pin. Take your braids and twist until it seems like a bun, then take some pins or hair ties for a bun. Once done, use hair texturizing spray. You can pull out some hair from the front for a little glamour. 
  • That Figures It Out: Braided Crown Hairstyle: Why wear a tiara when you can make your crown? Brush your hair thoroughly and ensure no knots. Form a middle parting, take some hair from the back of your ear, and start braiding it from the front side. Continue till the braid circles back to the start line. Take the braid to the other side and secure it using a bobby pin. Brush your hair again until it looks like a crown. There you go, girl! 
  • She Takes the Risk and Makes It Happen: Ponytail With Braids: One from the left and one from the right. That’s all you need to do. Make one braid from each side and secure it into a low ponytail. You can add a scrunchie to make it look a little fancy. 
  • Make Way for the Dreamer Who Makes It a Reality: French Twist Bun Hairstyle: Create and press the knot of the medium-length ponytail and loop the remaining part of your hair around the finger. Once done, secure the bun with an elastic band and cover the loose hair inside the band to complete this French braid. 
  • Hair That Speaks Volume: Volumizing Bohemian Hairstyle: No braids; this hairstyle demands neat twists on the front end, creating volume for the front side’s hair.
  • Hair That Changes With Mood: Ponytail With Bubbles: Four elastic bands to secure an equal portion of your hair and a little loosening of the visible hair is all it takes to create this sleek hairstyle. You can use colorful hair ties to make it look cute. 

These hairstyles will transform your simple office look to glam that girl look! Ensure prepping your hair before and after to minimize the damage and make them stronger, thicker, & smoother. You are one step away from the perfect business chic look! 

10 Effortless and Trendy Nail Arts That You Must Try This Summer

Manicured nails can entirely exalt your look, and with the unique fads that keep blowing up on our socials, it has become the quintessential need to stay in tune with trends! Getting your nails done is a process where you need to spur your creative instinct to do something no one has ever seen. Nail design craze buzz is real because every time on social media, you will see new and creative nail art designs that everyone wants to give a swirl. There are many design options to choose from; you can go for a subtle, neutral nail look, or design with a splash of bold color, or something with bling to transform your overall look.

Getting your nails done is a self-love therapy that changes your vibe completely! Going to a salon, getting your nails done, or just doing a DIY sesh makes us feel euphoric. Depending on your mood, you can pamper your nails or, even better, get a complete nail makeover! Many options, like monotone to quirky colour splash or sprinkle some glitter.

We have summed up a few options for you to choose from. You can also decide by just understanding what goes well with your ensemble:

1. A classic french manicure:

One of the most popular and classic nail art, a french manicure is perfect for a simple yet elegant look. It is one of those manicures that goes with literally everything and elevates your look. French manicure goes well with your daily office look, or you can also get it done if going to a dinner party or just a casual hangout brunch with friends. You can dress it up a little with nail accessories or small stones and upgrade according to what you like-you can also switch the colour from white to any other preferred colour.

2. Classy stripes:

Few classic style designs are never going out of style, and Colourful stripes are one of those styles. It is a versatile design that can be done the way you like; you can stick to one colour or whip too many different colours or patterns. Using one colour stripes or colourful stripes will make your glam nail look a notch higher. This classy and chic look can acetate any look for any occasion.

3. Go, Glitter!

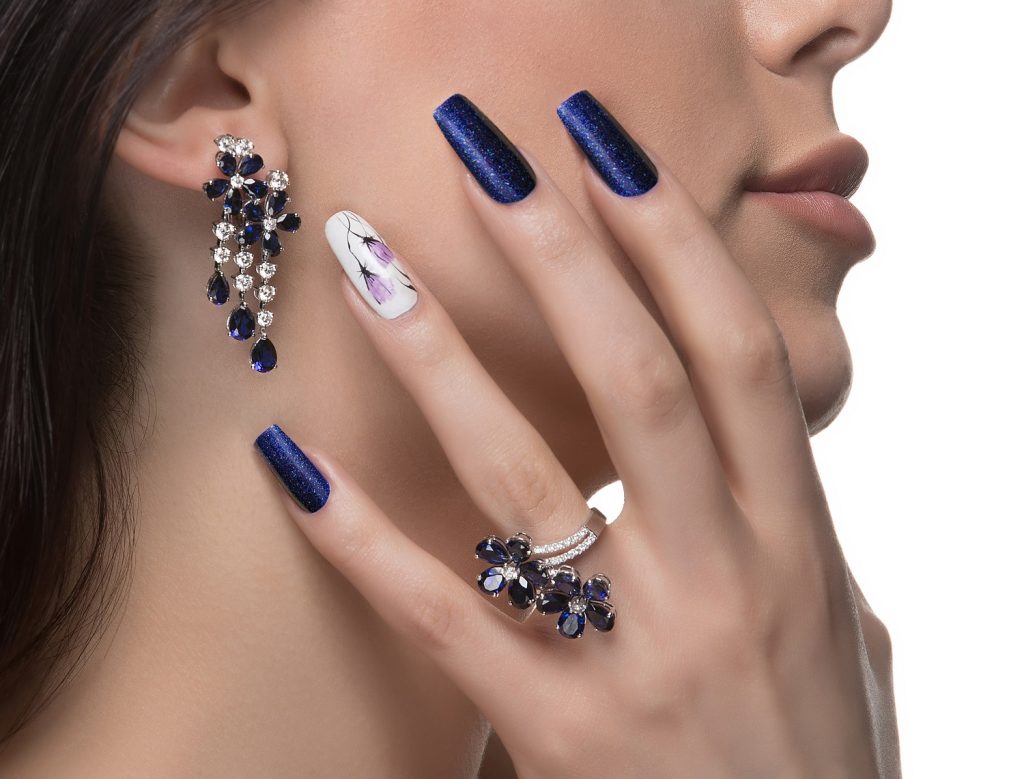
If you are a bold and quirky girl, Glitter is something you can’t shy away from. From a night out with girls to a wedding, Glitter is perfect to go! It adds much-needed extravagant glam to your outfit. You can also stick to one glitter nail and rest barely for a simple everyday mani. It adds that glittery accent and makes your nails look elegant, plus the right amount of glam for an everyday look. Use pigment or apply at least 2-3 coats of glitter polish to achieve a more refined look.

4. Ombre all the way:

With the ultimate blend of colours and a gorgeous gradient look, Ombre nail art needs the least amount of tools and can easily be done at home. You need a sponge eyeshadow applicator, distinct nail polish shades, and voila! Ombre can definitely up your nail art game. Don’t forget a top coat to ensure a glossy finish that looks beautiful and stays longer.

5. Heart it out:

Heart on your nails is not only for valentine’s day-you can celebrate love on any day and get heart-inspired nail art. You can try minimalist nail art or go all out and try something that stands out. It appears not that easy, but you can even try it at home by using toothpicks or getting a heart stencil. You can try any colour to jazz up the look. Heart nail art is a simple yet stylish nail art to pick for a date night out or a constant reminder of self-love.

6. A little naughty and polka dotty:

Give your nails a fun and frolic makeover by painting some polka dots. A fun Sunday brunch and or a sunny day out at a beach, this look is all you need. Take this look a notch up by adding some beads and studs to it.

7. Flower power:

Want to give your girlfriends a reason to compliment you? Pleasing your girlfriends is easier, but landing on that one design you have in mind can be tricky! If you are on your way to a nail appointment and confused about what you should get this time, go for a delicate flower design cause you can never go wrong with a cute floral pattern. You can find unique day-to-day designs that are eye-pleasing plus goes with everything. If you are a plant new mom, this design is for you. Just paint your nails blush pink and let them dry. Apply a base coat and quickly create a green step design using a toothpick, or you can also get a tool. Don’t forget to apply a top coat after.

8. Miss match:

Miss Match is a nail art design that is absolutely out of the box, and this is one of those designs that sets trends. It can complement any look, be it casual or glam. You can add other elements like studs, beads, or stripes on top to add a layer oomph it up.

9. Striking animal print:

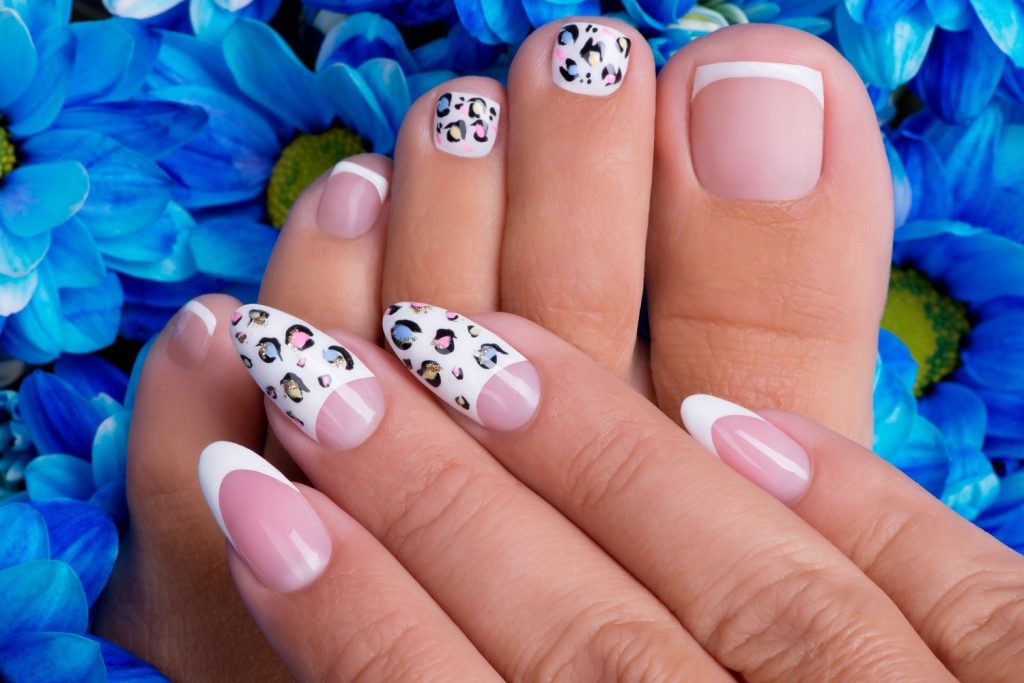
Animal print is a timeless design and insta worthy fashion statement! It is one of those designs that keep people turning around. You can completely change the color and choose from the classic leopard print in pink, cow print in brown, or the newly introduced croc print in glossy textured grey. Thanks to social media, this striking animal print is definitely a trendsetter that keeps coming back with new designs every time. 

10. Neon queen:

Looking for manicure designs that can brighten up your night and the outfit? You can try to get your nails painted in neon color or add a little jazz to your nails by adding neon elements. You can amp up your outfit, slay like Kylie and be glam on the go. If you are not fond of loud colors, get little details using neon shade and completely change the basic look. You can choose this neon abstract design (we are completely drooling over it).  

To make your nail art stand out, you need to pamper your hands and cuticles. How to do that, you ask? We have a few steps that you can follow before and after your nail sesh to ensure that your hands look as good as your freshly painted nails.

  • Prep your nails and hands the night before the appointment:

Slather your favorite skin ointment or cuticle oil, apply it generously. Lather the cream and slip on cotton overnight gloves. This DIY-Sesh will help you retain the moisture and wake up with super soft hands. You can do this glove technique every time your hands have gotten dry or during winter to provide the nourishment it needs.            

  • Buff Away Stains:

A base coat is as important as using a top coat to seal the nail art because, without a base coat, your nails will be left behind with weird stains that grow out. Basecoat preps your nails before the sesh and makes them stronger. If you have not applied a base coat before the sesh and are left with stain, just buff them out. Buffing out the stains will help minimize the damage, but ensure that you are buffing your nails gently cause if you do that excessively, you can make your nails thinner and weaker. Once you are done buffing your nails gently, take a toothbrush to scrub away the gel using a mixture of peroxide, baking soda, and lemon juice. It will help clean out the stains and leave your nails whiter.

  • Use Cuticle oil before and after every appointment:

Cuticle oil is one magic potion that can easily nourish your nails and lock in the moisture to reverse the damage or prep your nails. Cuticle oils provide vitamins and nourishment, and you can use hand cream to repair damaged nails. After getting a get extension, you can expect nail damage and moisture loss. In this case, cuticle oil can help create a barrier for your nails to stay moisturized, plus less damage. The primary role of your cuticles is to preserve your nails from getting infected by bacteria and free radicals. Using cuticle il is key to healthy nail growth too. Use cuticles oils with jojoba and coconut oils, massage the oil for at least 20 minutes and avoid washing.

  • Increase your biotin intake:

Biotin is a sole nutrient that can help you with all your related to your hair, skin, and nails. Incorporating a multivitamin in your diet enables you to advance your wellness regime. You have to follow a healthy diet, increase water intake and wait for some time to see results. You have to consume 30 micrograms daily, and you can expect stronger nails in three months.